
A few weeks ago my kitchen clock broke. Actually not the clock itself did break. Instead, the clock face inside began to dissolve and fell into small pieces that hindered the hands from moving. I have no idea how that happened. It might have been the location in the kitchen above the window that includes exposure to fat and high humidity. Maybe it was a more general problem and it failed due to its age. This clock must be in my household for more than nine years now.
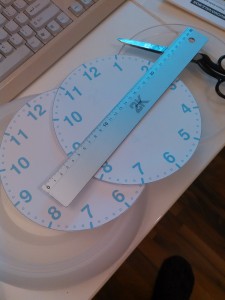
Finding the right size from design to printing
I pondered getting a new clock. However, I could not easily find one that both matched my expectations in price and design. Anyway, the clockwork itself is still functioning as it should and the rest of the plastic housing is also fine. Therefore, I decided to breath new life into this one by designing and printing a new clock face.
I know there are many good graphics applications out there, but I am not able to comfortably work with any of them. Especially as designing a clock face mostly involves polar coordinates. If I used any of them, I would probably have spend a lot of time converting radial and angular values to Cartesian coordinates.
That is why I choose a tool I know better: TikZ. Yes, that’s right, I designed this clock face in LaTeX. And I have to say this was really easy, as the TikZ/pgf manual already contains an example on how to draw a clock face. Of course I had to make modifications as it used absolute units and I wanted a scalable version. That turned out to be a very good approach, as my initial printout did not fit the clockface. The units on screen and what the printer produces vary by a few millimeters. I had to go through multiple iterations until I found the right fit.
This is the simple design that I came up with. If you are interested, the sources for this project are on GitHub.

After printing this various times, I produced the final version on photo paper. For fitting everything into the clock housing, I had to disassemble the clockwork as I had to dismount the hands. I put in the new clock face and then wanted to put in the hands back on, but the second hand needed some extra work as it did not want to go back into its position. I had to disassemble the clockwork and make it fit again with some extra work. The inside of such a clock is actually a quite simple mechanic, but I forgot to take a picture and I will not open it again after I got the cogs into the right positions again.
Now this is how it looks on my kitchen wall above the window:
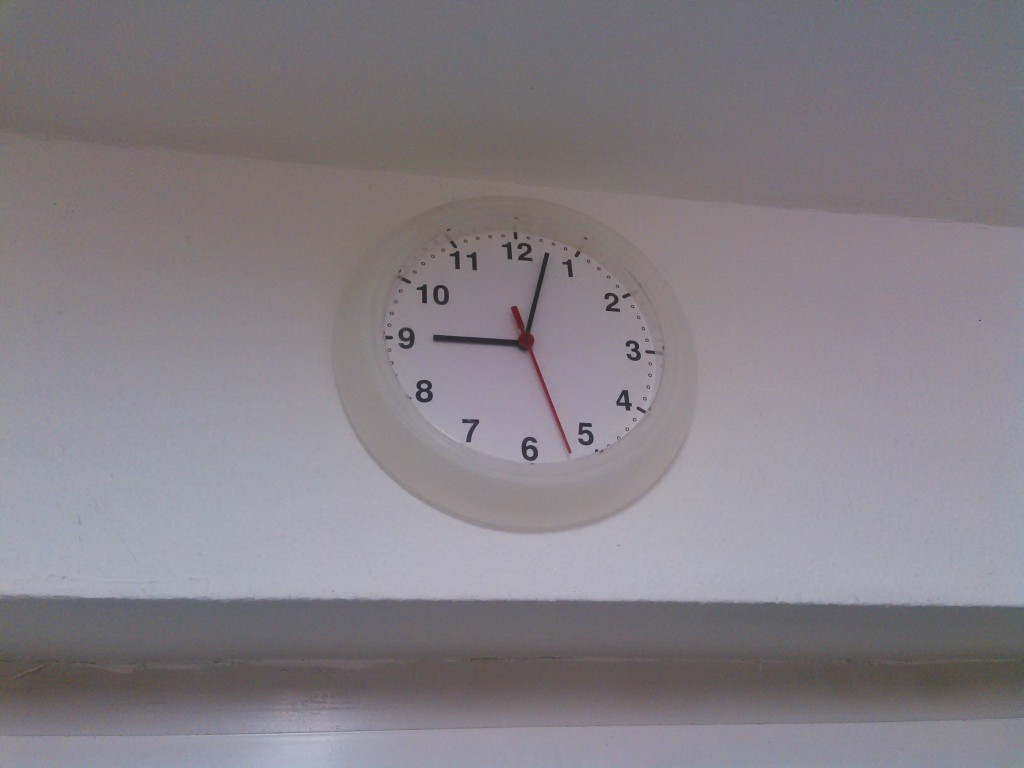
Final version wall-mounted in the kitchen